about us page banner

Why Are My Paver Blocks Getting Air Bubbles? (And How to Fix Them)

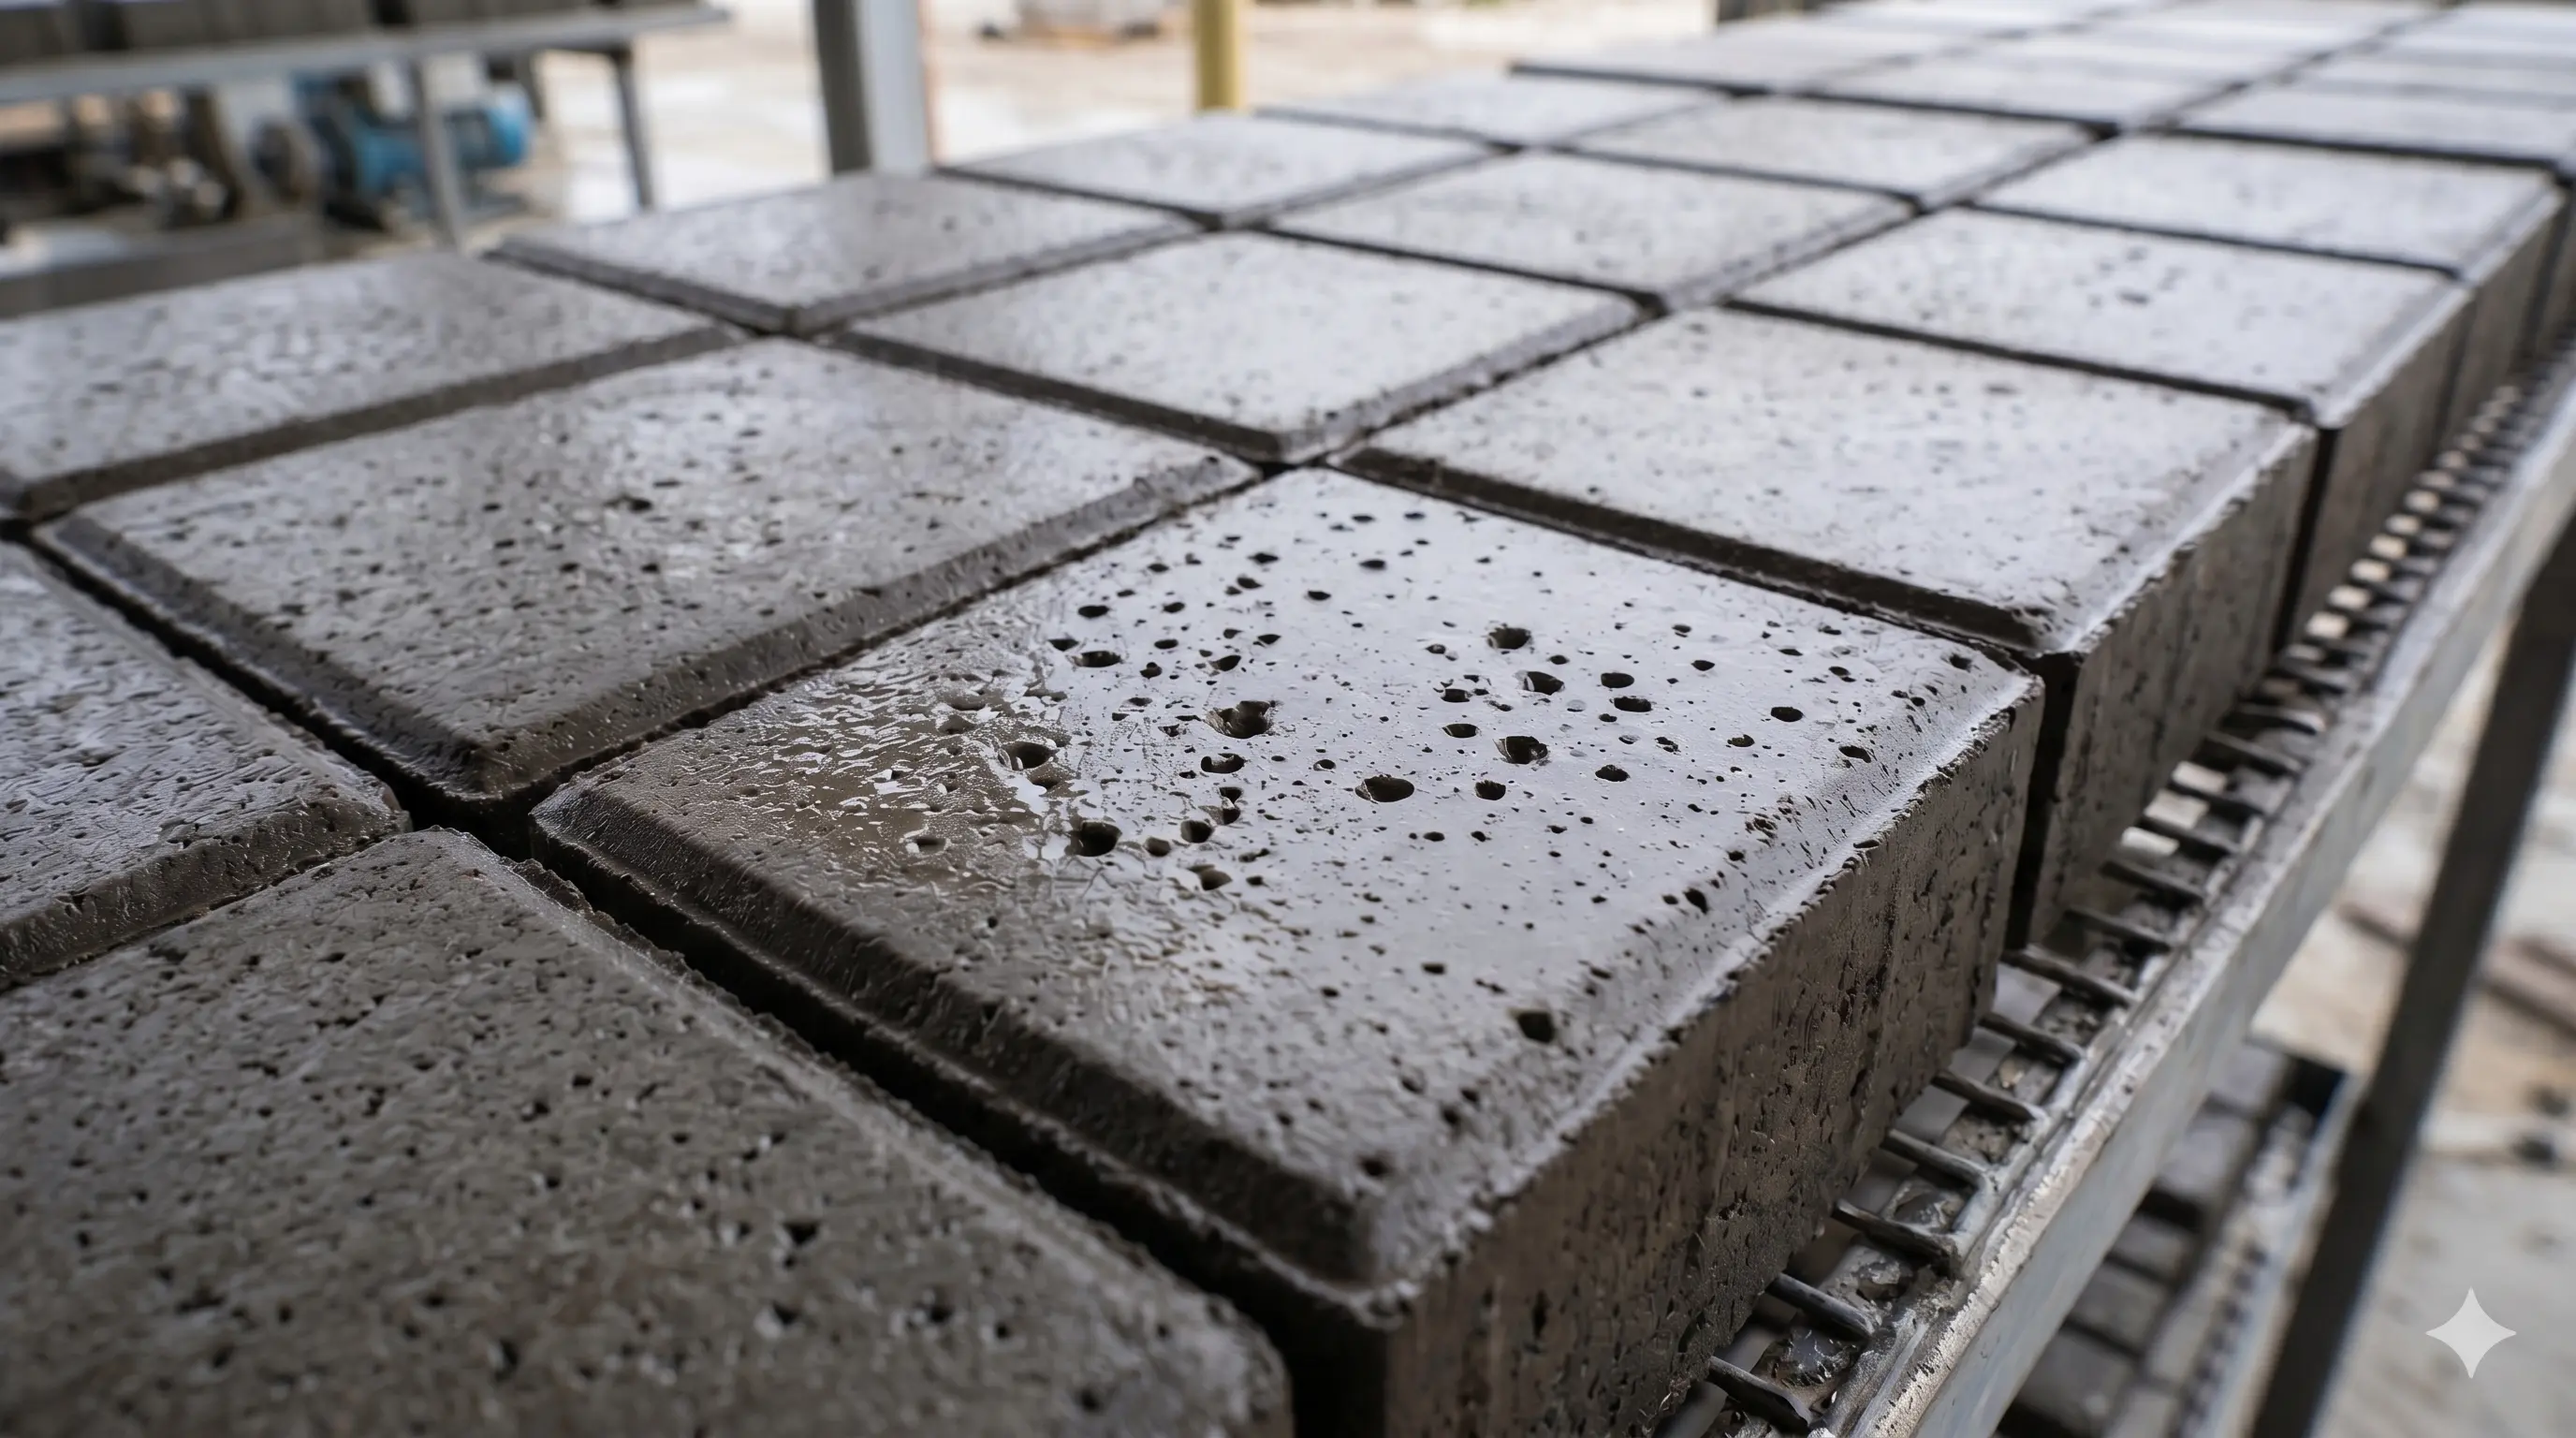
If you are in the paver block manufacturing business, you know that a smooth, flawless finish is everything. Customers expect perfect aesthetics and structural durability. So, when you demould a fresh batch of concrete pavers only to find the surface riddled with tiny air bubbles (often called pinholes or blowholes), it can be incredibly frustrating. These surface imperfections don't just look bad they can trap dirt, absorb excess water, and eventually compromise the lifespan of the block.

So, why are your paver blocks getting air bubbles on the surface, and more importantly, how do you eliminate them? Let’s break down the science behind trapped air and the exact steps you can take to achieve a glass-like finish.

The Root Cause: Why Do Bubbles Form?

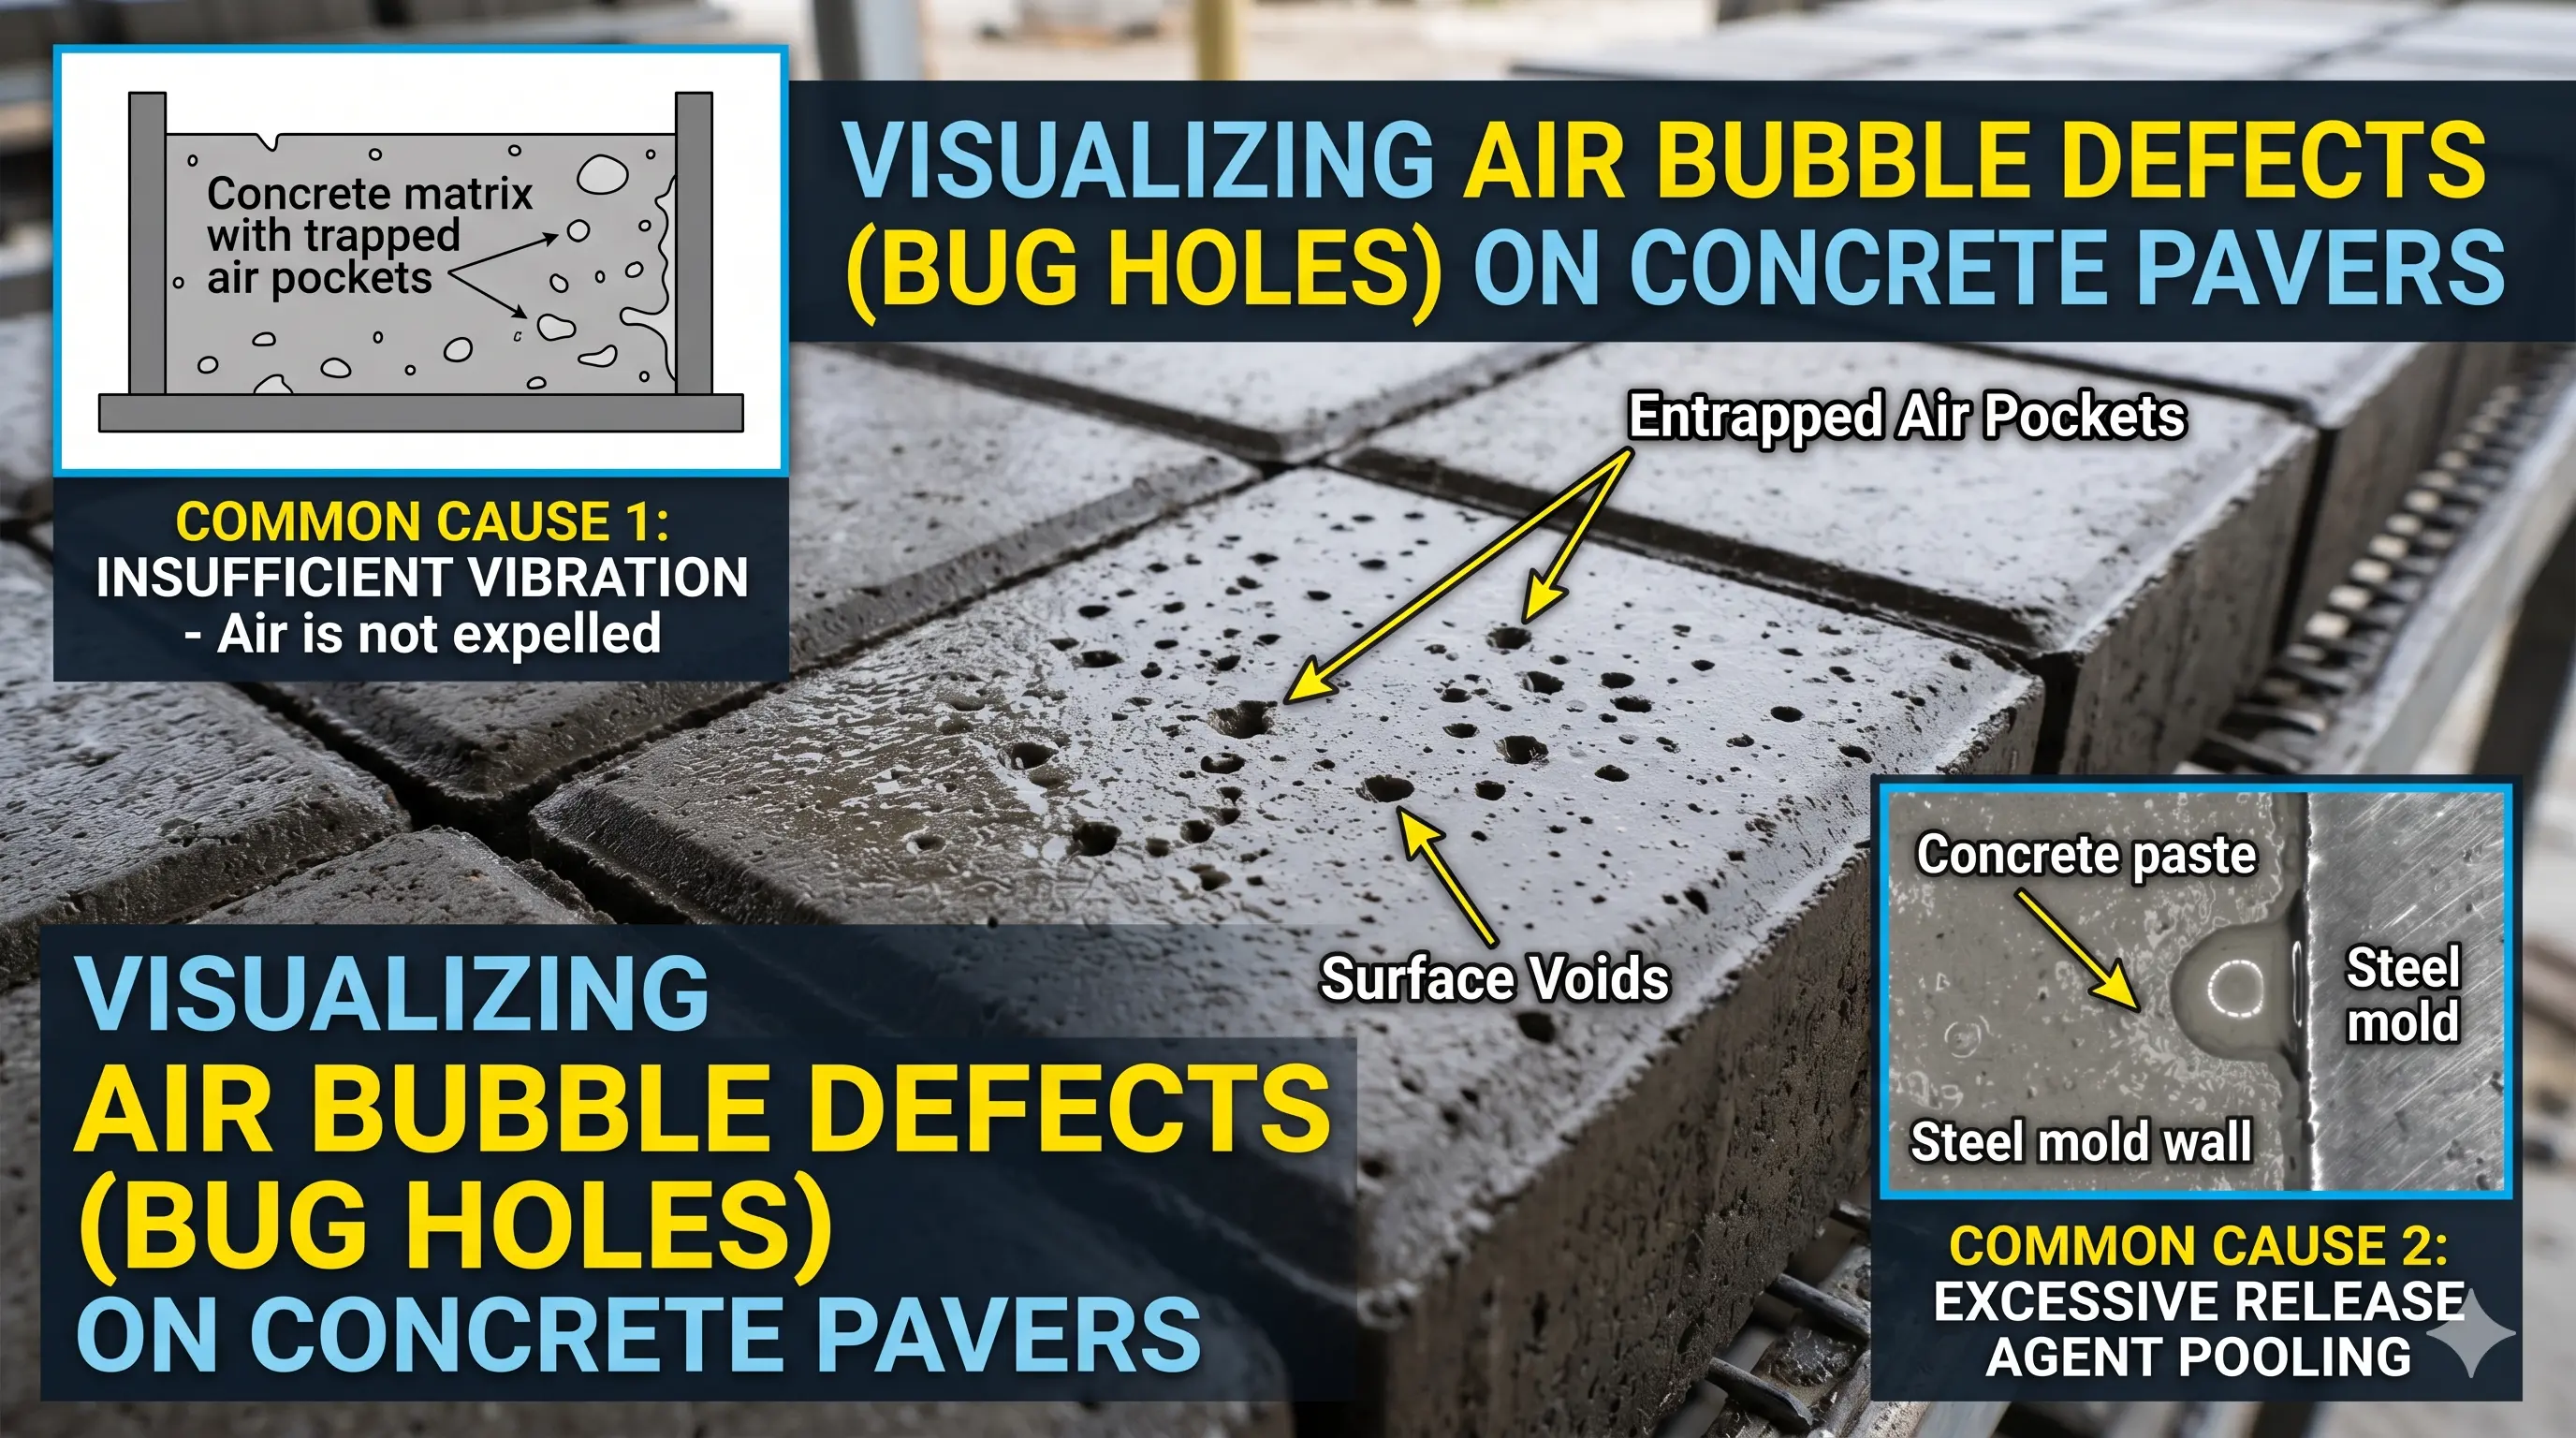
At its core, surface bubbling is a trapped air problem. When wet concrete is poured into a mould, countless microscopic air pockets are introduced into the mix. During the vibration process, this air naturally wants to rise and escape.

However, if the air gets trapped between the wet concrete mix and the rubber mould wall, it cures in place. When you finally pop the paver out of the mould, you are left with unsightly craters on the surface. Fortunately, this is entirely preventable by tweaking your equipment, your mix, and your maintenance routine.

Pavers Manufacturing blog

3 Steps to Eliminate Air Bubbles in Paver Blocks

Creating a professional grade paver block is a dual layer process. Here is how it is done from start to finish:

1. Optimize Your Vibration Process The single most important factor in releasing trapped air is vibration. If the vibration is too weak or too short, the air never reaches the surface.

The Equipment Advantage: To get a flawless finish, the quality of your vibrating table matters immensely. For instance, using a heavy-duty 10x3 vibrator table designed with custom perforations (holes) across the surface ensures that the vibration is distributed perfectly and evenly across all moulds. This perforated design prevents dead spots and guarantees that every single block receives optimal, uniform vibration.

Pro Tip:Even with a top-tier table, timing is everything. Ensure your vibrating table is functioning at the correct frequency and that you are vibrating the moulds long enough for all the air to rise out, but not so long that the aggregates begin to separate from the cement paste.

2. Perfect Your Concrete Mix and Admixtures Your concrete mix might simply be too stiff. If the mix is too dry, it loses its workability. A stiff, dry mix resists the vibration process, acting like a thick paste that fiercely holds onto air pockets.

Check your water to cement ratio: Ensure you have enough moisture for the mix to flow smoothly into the corners of the mould.

Calibrate your admixtures: Don't just add water to fix a stiff mix (which lowers the strength of the paver). Instead, rely on plasticizers or superplasticizers. Check your admixture dosage and ensure it is properly calibrated to give the concrete a fluid, workable consistency without compromising its final curing strength.

3. Keep Your Rubber Moulds Spotlessly Clean The surface of your paver block will only ever be as smooth as the mould it was poured into.

If your rubber moulds are not cleaned properly between production cycles, leftover cement slurry, dust, and microscopic debris will build up on the walls. This debris creates a rough, textured surface that creates tiny friction zones, effectively "grabbing" and trapping air bubbles against the wall before they can vibrate upward.

The Fix: Ensure every rubber mould is completely clean before pouring.

Watch your release agents: EIf you use a mould release oil, apply it in a microscopic, even layer. Puddles of excess oil in the bottom of the mould will actually cause surface bubbles rather than prevent them.

The Bottom Line

Achieving a perfectly smooth paver block requires a balance of chemistry and mechanics. By utilizing a high quality, evenly distributed 10x3 vibrating table, properly dosing your chemical admixtures, and maintaining rigorous mould hygiene, you can eliminate surface bubbles for good.

Quality pavers start with quality processes. By controlling your vibration, mix, and moulds, you ensure every block that leaves your facility is perfectly smooth, highly durable, and ready to pave the way.