about us page banner

How to Make Paver Blocks Using Rubber Moulds

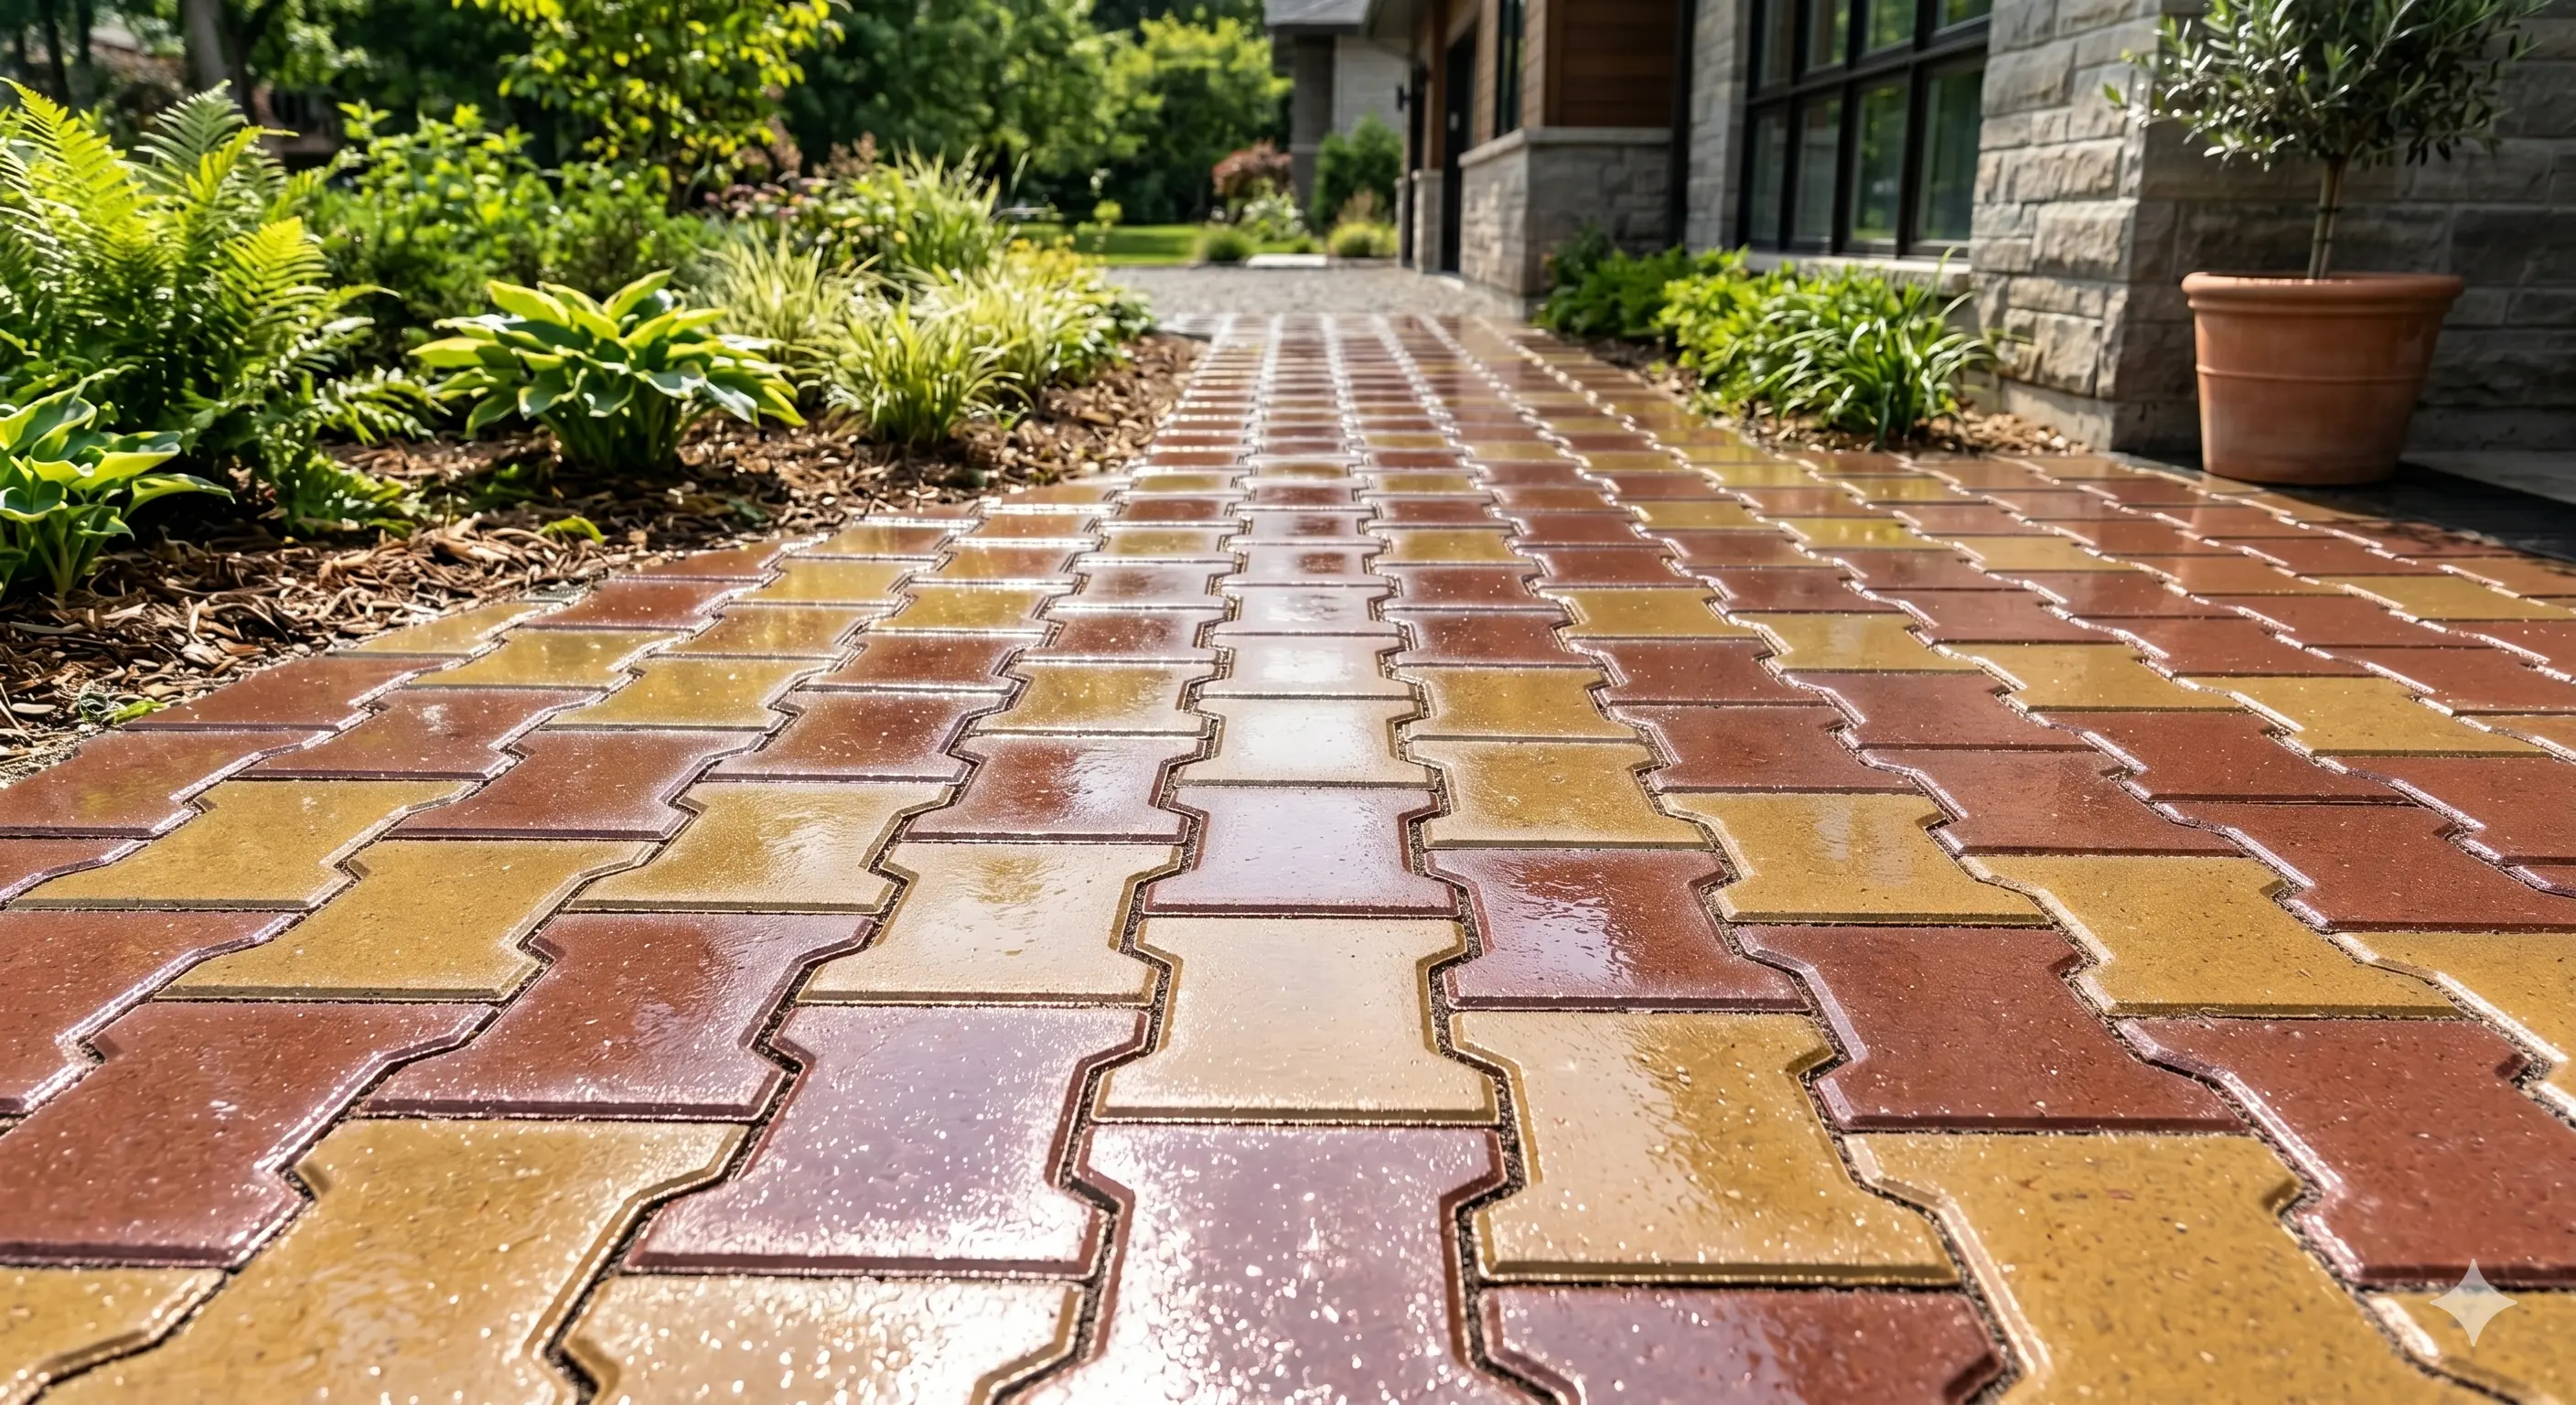
Whether you are starting a small scale manufacturing business or taking on a heavy duty DIY landscaping project, learning how to make paver blocks using rubber moulds is a highly valuable skill. Rubber moulds have become the industry standard because of their incredible durability, flexibility, and the smooth, glossy finish they provide to the final concrete product.

But what does the actual manufacturing process look like?

we will break down the standard industrial process for casting high quality paver blocks step by step.

Essential Materials and Equipment Needed:

Before diving into the steps, ensure you have the following supplies ready:

1. High-quality rubber moulds (in your desired paver shape)

2. Cement and fine sand

3. Coarse aggregates (like 10mm stone chips)

4. Iron oxide color pigments (for the colored top layer)

5. Concrete admixture/plasticizer (for strength and workability)

Pavers Manufacturing blog

The 6 Step Paver Block Manufacturing Process

Creating a professional grade paver block is a dual layer process. Here is how it is done from start to finish:

Step 1: Prepare the Top Layer (The Color Mix) The top layer of your paver block is what gives it a vibrant, aesthetic appeal. To create this layer, you need to prepare a specialized color mix. The Process: Using a pan mixer, blend together cement, fine sand, your chosen iron oxide color pigment, and a concrete admixture. Mix thoroughly until you achieve a smooth, consistent, and deeply colored paste.

Step 2: The First Vibration Air bubbles are the enemy of strong concrete. If left inside the mix, they cause surface pitting and weaken the block. The Process: Pour a precise amount of your freshly prepared color mix into the bottom of the empty rubber mould. Place the mould onto a vibrating table and turn it on. The vibration will force the dense mix into the corners of the mould and draw all trapped air bubbles to the surface, ensuring a flawless top finish.

Step 3: Prepare the Base Layer (The Structural Mix) While the top layer provides the looks, the base layer provides the heavy-duty structural strength required for driveways, walkways, and patios. The Process: Prepare a batch of standard, high-strength concrete. This mix should consist of Portland cement, coarse sand, and larger aggregates, typically 10mm stone chips.

Step 4: The Second Vibration Now it is time to marry the two layers together to form a single, solid interlocking paver. The Process: Pour the heavy base concrete directly over the wet color layer inside the mould. Place the filled mould back onto the vibrating table. Vibrate the mould again until the base concrete is densely packed, leveled out, and perfectly integrated with the top layer.

Step 5: Curing the Concrete Curing is arguably the most important step for achieving maximum concrete strength. Concrete doesn't "dry" it cures through a chemical reaction that requires moisture. The Process: Carefully stack your filled rubber moulds in a designated curing area. To prevent the concrete from drying out too quickly, cover the stacks tightly with a plastic sheet or tarpaulin. This locks in the ambient moisture. Let the blocks set undisturbed for a minimum of 24 hours.

Step 6: Demoulding the Paver Blocks After 24 hours of proper curing, your concrete will be hard enough to be removed from the moulds. This is where using rubber moulds truly shines compared to rigid plastic or metal alternatives. The Process: Because industrial rubber is highly flexible and non stick, demoulding is completely tool-free. Simply pull the edges of the rubber mould and peel it away from the hardened block by hand.

Final Thoughts:

Manufacturing paver blocks using rubber moulds is an incredibly efficient and repeatable process. By following these six steps from mixing the perfect top layer to properly vibrating and curing the concrete you can produce commercial grade paving stones that will last for decades.